Inventory - Items
The Items screen displays items in a list showing item no., description, and costs. (Default selling prices are on the Prices screen).
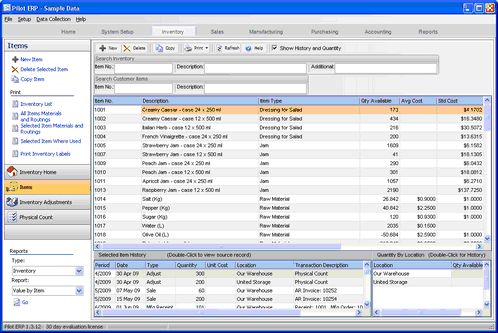
Items can be finished goods, raw materials, packaging materials, intermediate items, or services for sale, or sundry items such as freight, duty, deposit.
On manufactured items, you specify the standard materials (and any intermediate items: a material can be a manufactured item) and resources (labor and equipment) to be used. Manufacturing orders will show these as defaults, which you can then change for substitutions or for manufacturing a custom product. The Items menu has options to print the materials and resources for each manufactured item, showing component costs and item totals.
To add a new item: click the New button.
To edit an item: double-click the item. Or select the item and press Enter or click the Edit button.
To delete an item: select the item and click the Delete button.
Item Search: You can select an item with the mouse or by the keyboard via the Page Up/Down and arrow keys. Or type the Item No., Description or Additional Description of the item you are searching into the search boxes at the top of the item screen. You can also search by Customer Part Number and Description. Tip: Select a column in the Items grid and begin typing. The incremental search will start to drill down based on the information you enter. You can enter the 1st letters of the item description then press the down arrow.
The menu has options to
| • | sort the list by item no., description or any other field in the grid. |
| • | copy an item (all data except item no.) |
| • | display inventory totals by location for a selected item |
| • | display inventory history (transactions) for a selected item |
| • | refresh the data displayed to show changes entered by other users, etc. |
| • | print the list: summary or materials and resources with costs for manufactured items |
| • | print the materials and resources with costs for a selected item |
Inventory Transaction History and Totals
To display inventory totals, history, or materials and resources for an item, check the Show History and Quantity check box. Then select the item, and the history and quantity by location will display at the bottom of the item grid screen. You can also double click on any history transaction to open the original record. Double click on the Location to display the transaction history for that Item.
Item no.
Items can be accessed by number or name. Item no. is useful if your customers order by item number or you have a large number of items. When setting up a new item, the program assigns a default item number which you can then change if desired. At any time you can change the item number and any history will automatically still be linked to the item.
Suspended
Check here to prevent further invoices from being entered for this item.
Description
The default description for this item. You can override this when entering invoices.
Tip: Unit of Measure can be included in the description. Example: Apricot Jam - case 12 x 500 ml
Additional Info
This is a second description field which can be used for searching. It can optionally be displayed on all documents or used internally.
Item Type
Select the Item Type for this item. If you need to add a new type to the drop down list, click the adjacent button. You specify on the Item Type which costing method should be used and whether items in the Item Type are inventory items. Item Types may be used to group items for sales analysis. Example: Widgets, Brackets, Sundry, Labor, etc. This facilitates printing sales analysis reports sorted and/or summarized by item type. Item Types are also used to facilitate selecting items when entering AR Invoices.
Tax Codes
Each customer can have two sales tax totals showing on their invoice such as state and local, or federal and provincial. Each tax total corresponds to a tax code. Example: S for state tax, P for provincial tax. Tax is automatically applied on an invoice when an item tax code matches a tax code for a tax defined for the customer. The tax codes print on invoice detail lines to show which taxes were applied. Items can have up to 3 tax codes.
Example 1: T for tax (if there is just one tax total on the invoice)
Example 2: SL for state tax and local tax
Example 3: PGH for provincial tax, federal GST, and harmonized HST.
Minimum Quantity
The minimum inventory level or re-order point. The Quantity Available report highlights items that are below minimum or will fall below minimum based on scheduled sales order shipments, manufacturing production and usage, and expected purchase order receipts.
Drawing No. (optional)
Enter the Drawing Number associated with this item. If this is a manufactured item, the drawing number will copy to the work orders for the item.
Lead Time (optional)
Enter the Lead Time needed to manufacture or purchase the item.
Quantity Available
Displays the current on hand quantity available for this item.
Weighted Average Cost
The weighted average cost is updated automatically based on the value of items received and inventory on hand. If this needs to be adjusted manually, you can uncheck the “read-only” checkbox. You specify on the Item Type which costing method (weighted average or standard) should be used for JVs created automatically, and used as the costing method on inventory reports.
Standard Cost
The standard cost is not updated automatically*, so whatever is entered here remains constant until changed by the user.
The "Standard Cost Update" feature under the Manufacturing | Bills of Material screen will allow you to update the Standard Cost of purchased materials using the current Weighted Average Cost.
The "Cost Rollup" feature under the Manufacturing | Bills of Material screen allows you to update the Standard Cost of Manufactured items based on the materials and labor specified for the item.
Standard cost would typically be used for manufactured items and reset periodically to compare against actual manufacturing costs.
For non-manufactured items, this field could be used for budget or replacement cost to facilitate an inventory value report at such.
You specify on the Item Type which costing method (weighted average or standard) should be used for JVs created automatically, and used as the costing method on inventory reports.
Unit Weight Gross
This prints on the picking slips and bills of lading.
Backorderable
Check here if the item can be backordered on sales orders (to customers). This means that if a customer orders 10 of an item and you can only ship 8, you could ship the remaining 2 on a later shipment. Stock items are generally backorderable, whereas custom manufactured items might not be. Sales orders that are not fully shipped are kept open as backorders if the customer allows backorders and the items are backorderable. Otherwise when the shipment is posted, the order status is changed from “On Order” to “Completed”.
Quantity per Batch
If you manufacture this item in batches, you can enter the quantity produced per batch. You can then specify the materials and resources required per batch rather than per unit.
Revision
Enter the current engineering revision of the item. If this is a manufactured item, the revision will copy to the work order for this item.
Materials and Resources per Batch
If you manufacture this item in batches, check here if you prefer to specify the materials and resources required per batch rather than per unit.
Bill of Materials: Items, Quantities, and Waste Percentages
If you manufacture this item, you can specify the standard materials (and/or intermediate items: a material can be a manufactured item) to be used (items, quantities, and waste percentages). Manufacturing orders will default to this when the finished goods item and quantity ordered are entered or changed. You can then make changes for substitutions or for manufacturing a custom product. The items and quantities (not waste percentage) print on the bill of materials for the plant personnel.
You can enter the actual materials used later when entering the receipt(s) if the plant personnel record this data, or alternatively you can let this data default to what is on the order.
Material quantities are "utopian" (what they would be if there was no waste).
Waste is expressed as a percentage of what doesn't make it into the mix compared to what is taken from inventory. For example if you remove 10 litres from inventory and spill 2, then waste is 20%. If the utopian quantity is 8 and waste is 20%, then the receipt defaults to deplete inventory by 8 /(1 - .2) = 10.
Tip: You can display a pop-up menu with options for New (line), Delete (line), Move Up, and Move Down by right-clicking on the grid.
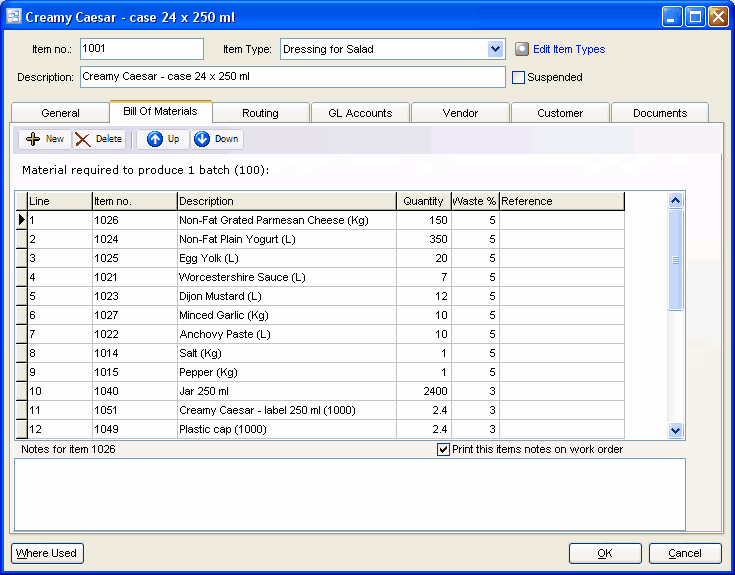
Material item numbers or descriptions are not entered directly here, but instead selected on a pop-up screen which displays if you type into the item number or description column, or by clicking on the "3 dots" button in the column, double-clicking in the column, or by the keyboard shortcut Ctrl+Enter.
On the Item pop-up screen: you can select the item by typing the item number in the 1st entry box or by typing the description in the 2nd box, or by selecting the item with the mouse or up/down arrow keys. Click on the selected item or press Enter when the selected item is highlighted. Or Esc to leave a previously entered item unchanged.
Typing the item number in the 1st entry box sorts the list by number and selects the first item number matching the characters entered.
Typing the item description in the 2nd entry box sorts the list by description and selects the first item description matching the characters entered.
On the Item pop-up screen you can select Item Type via the combobox at the right, so that only items of the selected type show. To deselect an item type and show all types, press Delete.
Routings (labor and equipment): Description, Hours, and Work Center
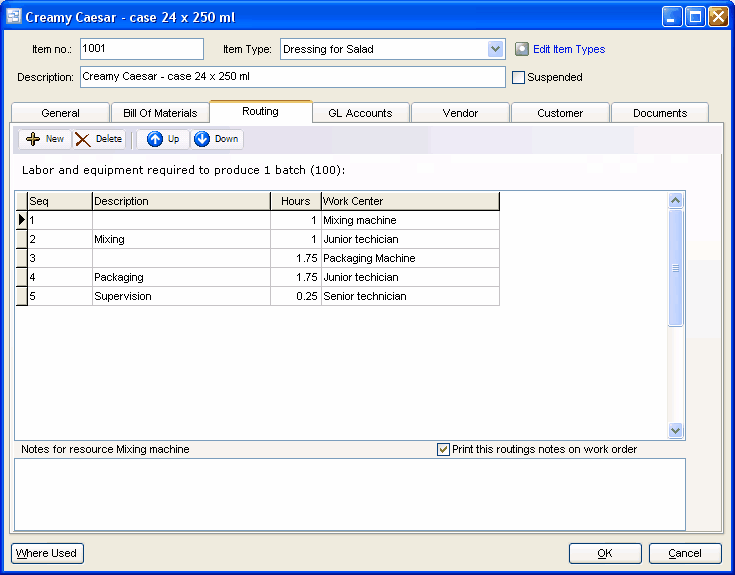
If you manufacture this item, you can specify the standard resources to be used (task description, hours, work center). Manufacturing orders will default to this when the finished goods item and quantity ordered are entered or changed. You can then make changes such as to use a different machine if one is overbooked, etc. or for manufacturing a custom product. This data prints on the bill of materials for the plant personnel.
You can enter the actual resources used later when entering the receipt(s) if the plant personnel record this data, or alternatively you can let this data default to what is on the order.
Tip: You can display a pop-up menu by right-clicking on the grid.
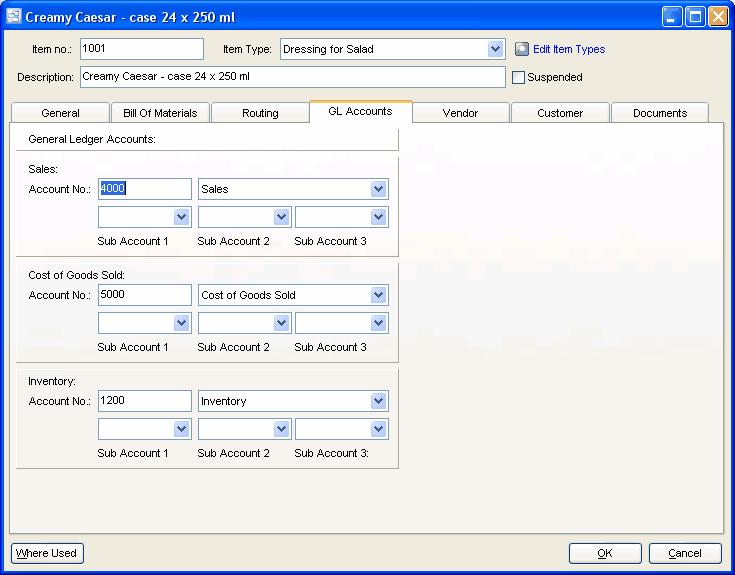
GL Accounts: Sales, Cost of Goods Sold, Inventory
Select the GL accounts (main account and optional subaccounts) for this item, to be used on the JVs created when posting AR invoices. These default to the GL Accounts specified on Your Company. The optional subaccounts allow you to segregate revenue and expenses, for example, by product group, so that you could track profitability by running financial statements for selected product groups. If you need to add a new GL account or subaccount to the drop down list, click the “3 dots” button.
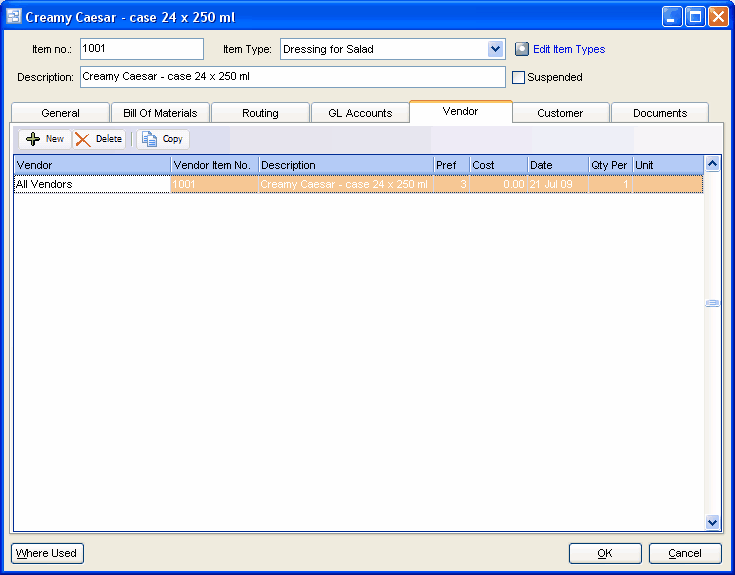
Vendor - Vendor Items
The Vendor tab displays vendor items in a list for the item showing vendor, vendor’s item no., description, preference, cost in vendor’s currency, cost date, quantity of our item per vendor’s item, our item number and description, and cost converted to domestic currency and our unit of measure. For more details see Vendor Items.
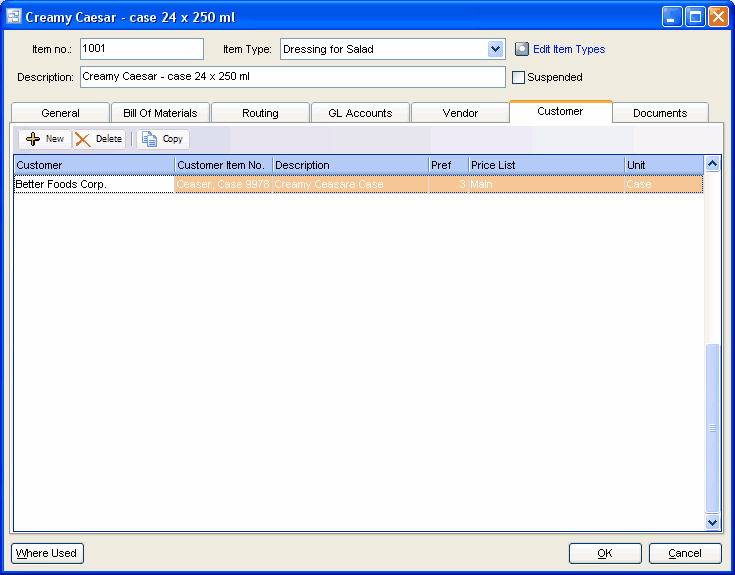
Customer
If your customer orders items by a manufacturing part number or their own part number, you can enter the customer and their associated number here. Enter as many customers as needed and the part numbers can optionally display on the Sales Quote, Order, Bill of Lading and Invoice.
Notes
Enter any notes you wish to record here.
Documents
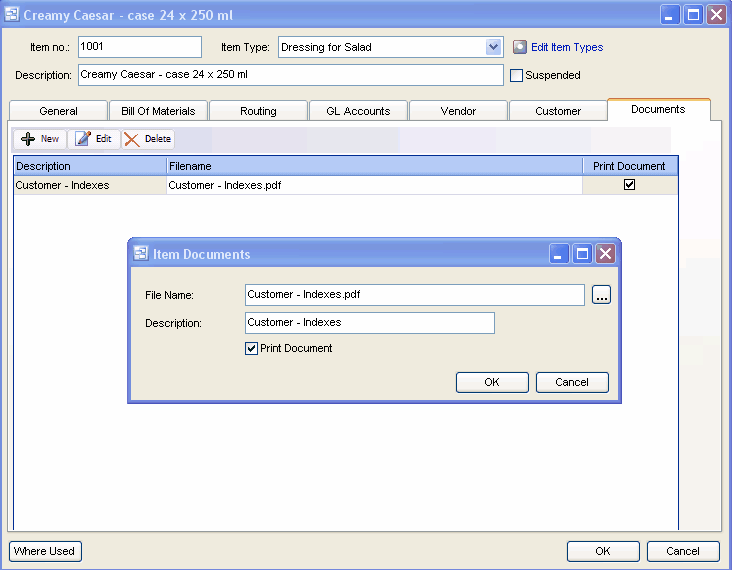
Attach documents, images and any other file that pertains to the inventory item. There is a "Print Document" option available if you want the document or image to automatically print with an associated Sales Order, Purchase Order or Shop Traveler.
